Today I finished binding the last of the 23 notebooks I’ve been printing, folding, perforating and binding all month long; on the penultimate notebook I stopped to take photos of each step of the process, both as a guide to my future self and as a guide to others who might like to follow my lead.
Design
My decision to use standard letter-sized paper for the notebooks played a part in dictating their size: I decided to take each 8½ by 11 inch piece of paper and to first cut it into two 8½ by 4 inch strips, each of which got folded into a 4¼ by 4 inch signature. This left me needed front and back covers of the same 4¼ by 4 size; I cut these out of unbleached letter-sized card stock.
Printing the Covers
I decided that “Perforated Notes” would appear on the cover, as that’s what was going to be in the tin, so to speak; I also decided to add a credit to the front cover, which is something I seldom remember to do. As I related here in more detail, I set the Perforated Notes in 36 point Tourist Gothic and the credit line in 18 point Gill Sans:
Image may be NSFW.
Clik here to view.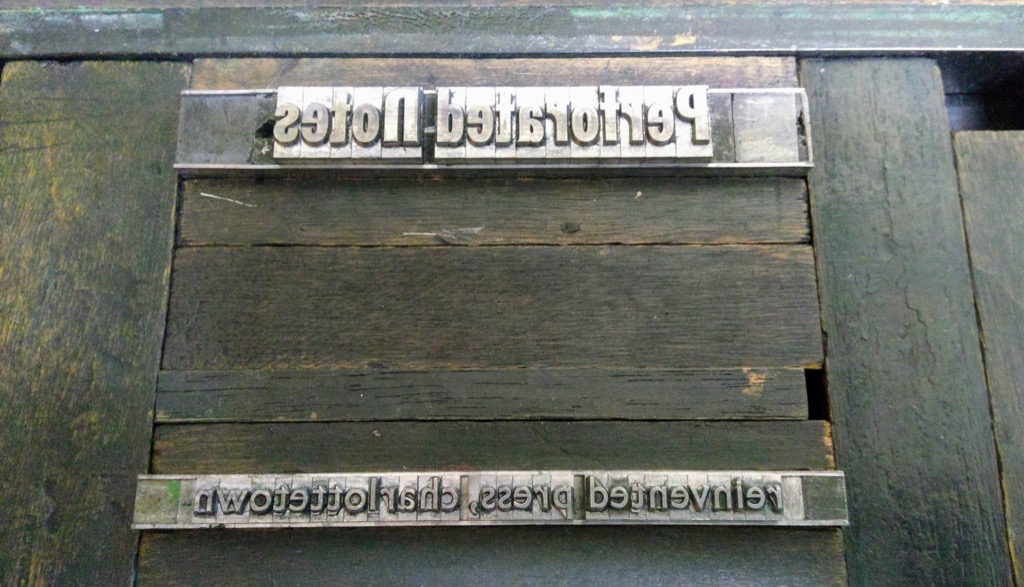
After setting the type and going through the laborious makeready process to make-it-so, I printed about 40 covers, a number balanced between having too many and having too few.
Image may be NSFW.
Clik here to view.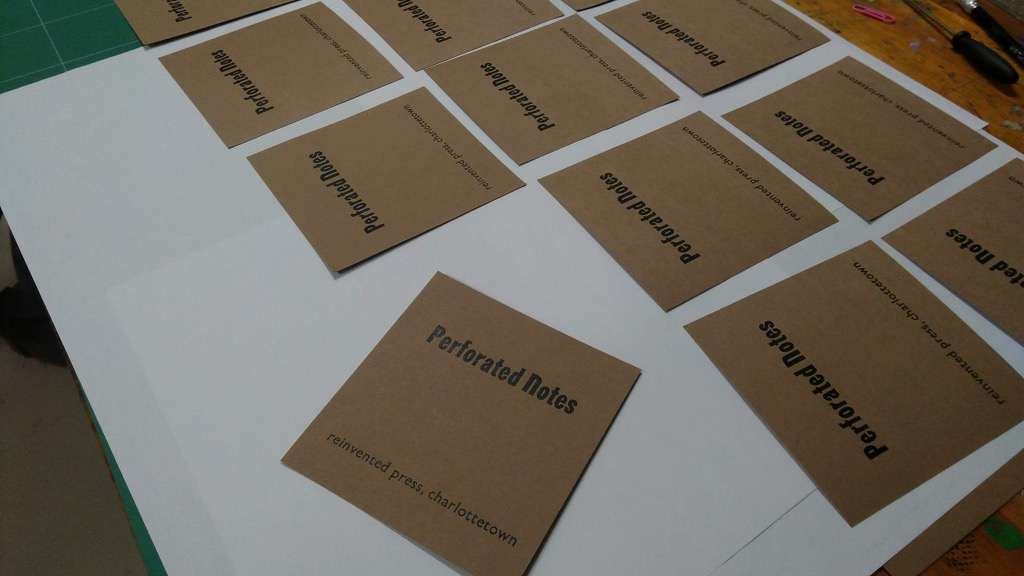
Perforating
To perforate the signatures that I’d cut and folded earlier, I set a piece of “perf bar”–hardened steel with a perforated cutting edge running along one side–inside the chase and into the press, and set a piece of hardened steel for it to land on the platen (so as to not damage the press). My initial attempts at perforating were frustrating because the paper would get caught in the perf bar on each run and I’d have to stop the press to remove it. I cured this problem by realizing that’s why all of the die-cut rigs that in inherited with the press have pieces of foam arranged around the cutters: the foam gets compressed on the cutting stroke, and then gently pushes on the perforated paper to release it; once I added this I made short work of the perforating.
Image may be NSFW.
Clik here to view.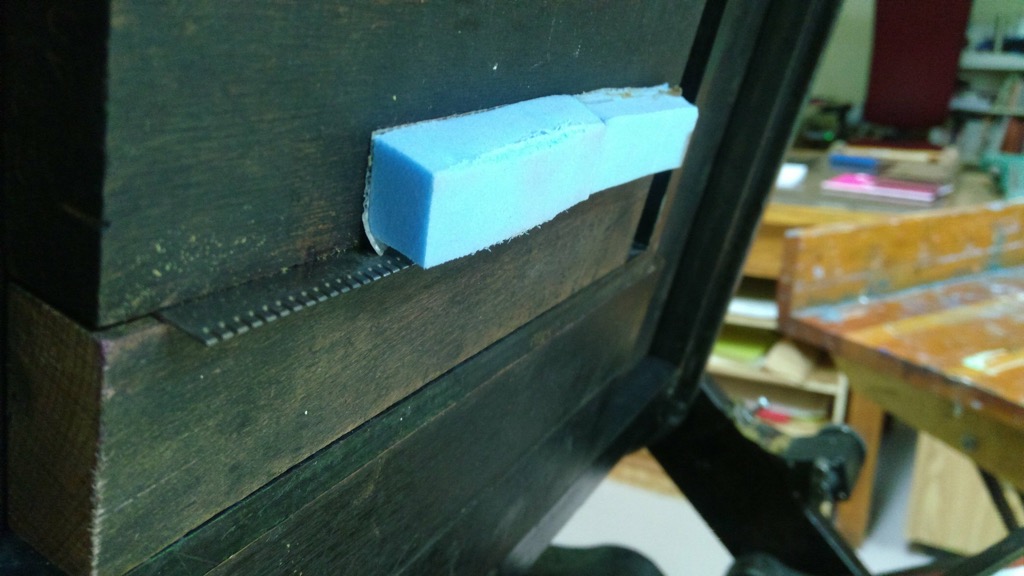
Image may be NSFW.
Clik here to view.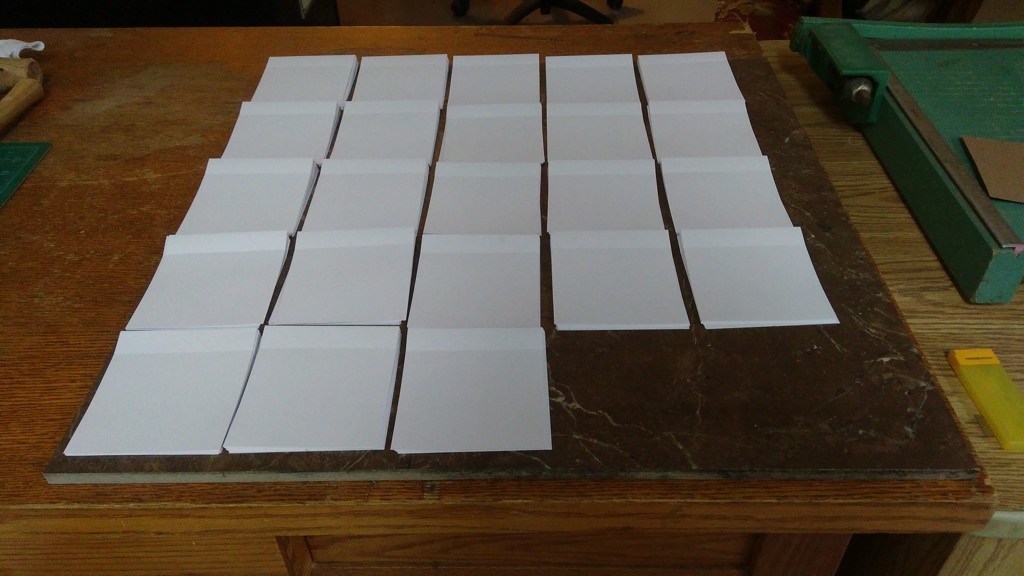
After some prototyping, I decided that each notebook would have 10 signatures, or 20 pages in total; once I assembled all the perforated signatures into piles of 10 I had enough to produce 23 notebooks.
Punching Holes
The raw materials for each notebook, before binding, look like this:
Image may be NSFW.
Clik here to view.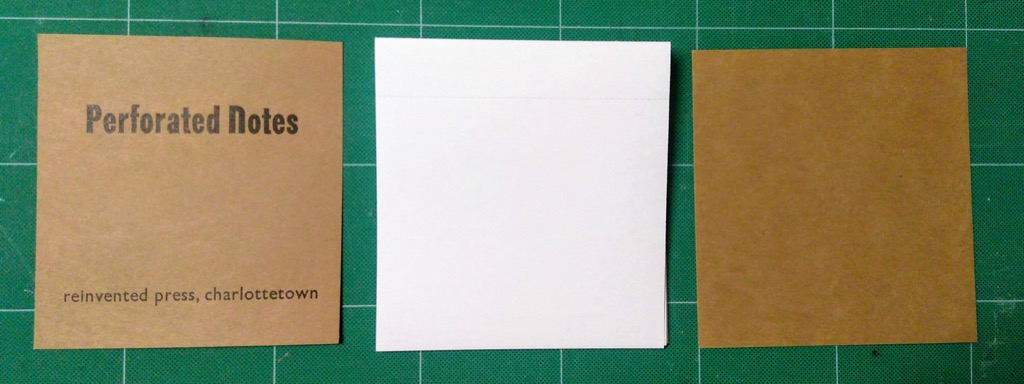
Each notebook has a printed front cover, 10 signatures of perforated insides, and a plain back cover.
The first step in binding is to gather these together in order, to align them with the top edge, and then to clamp the assembly together with a binder clamp wrapped around a piece of card (to avoid damaging the covers):
Image may be NSFW.
Clik here to view.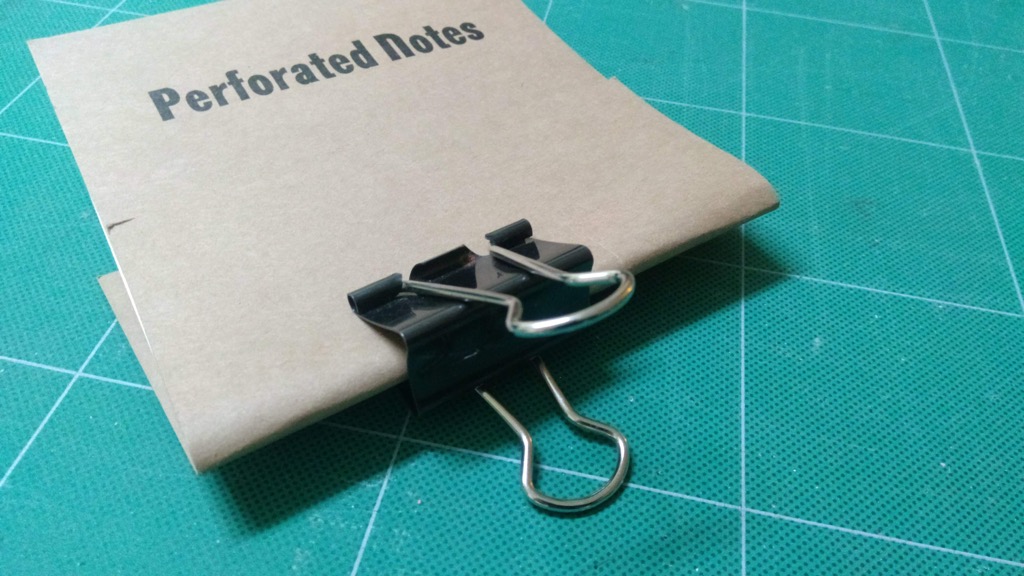
Next, I placed a template with five holes, over the notebook, aligned with the top edge, to act as a guide for punching holes:
Image may be NSFW.
Clik here to view.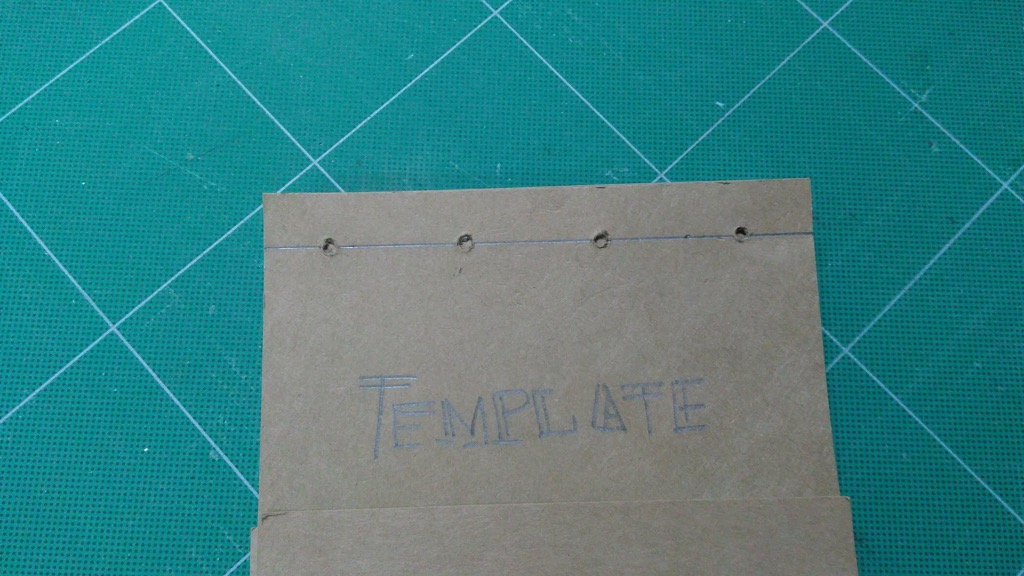
Using a template was a good idea: it’s fine to eyeball a single notebook, but to ensure consistency and levelness, the template was invaluable when binding multiples. There are five holes in the template because an odd number of holes is required for the stab binding technique.
I used a brand new awl, newly-arrived in the London Centre for Book ArtsBookbinding Toolkit, to punch the five holes; the limit of 10 signatures per notebook was, in part, informed by how much paper I could reasonably expect to punch through.
Image may be NSFW.
Clik here to view.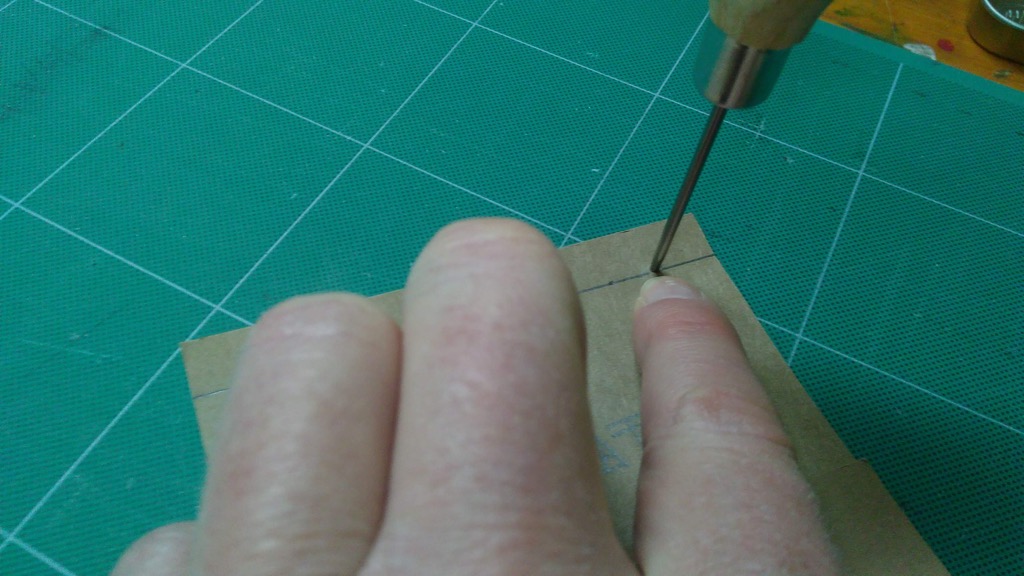
The notebooks with holes punched looked like this on the front:
Image may be NSFW.
Clik here to view.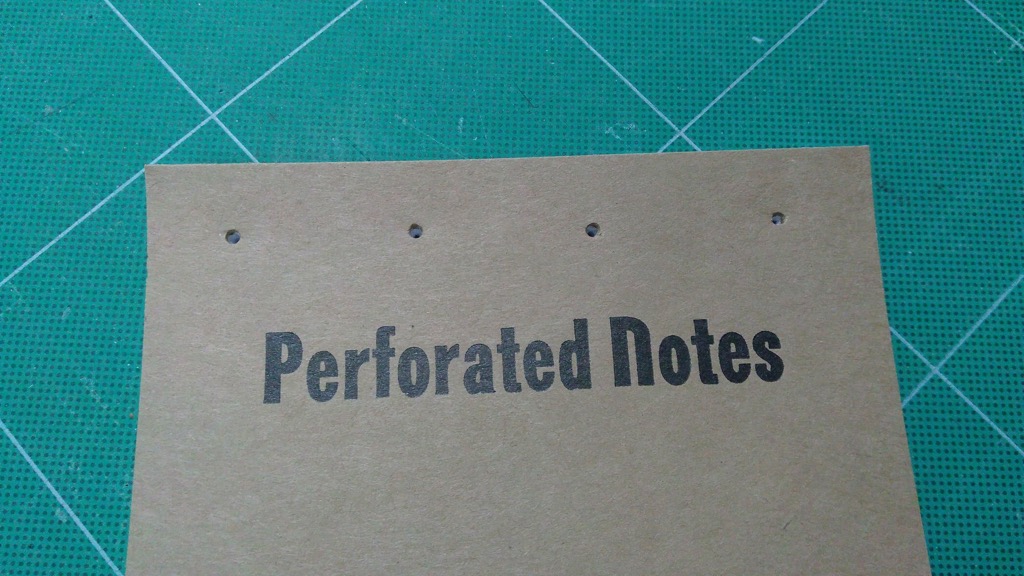
And like this on the back (just enough hole to be workable):
Image may be NSFW.
Clik here to view.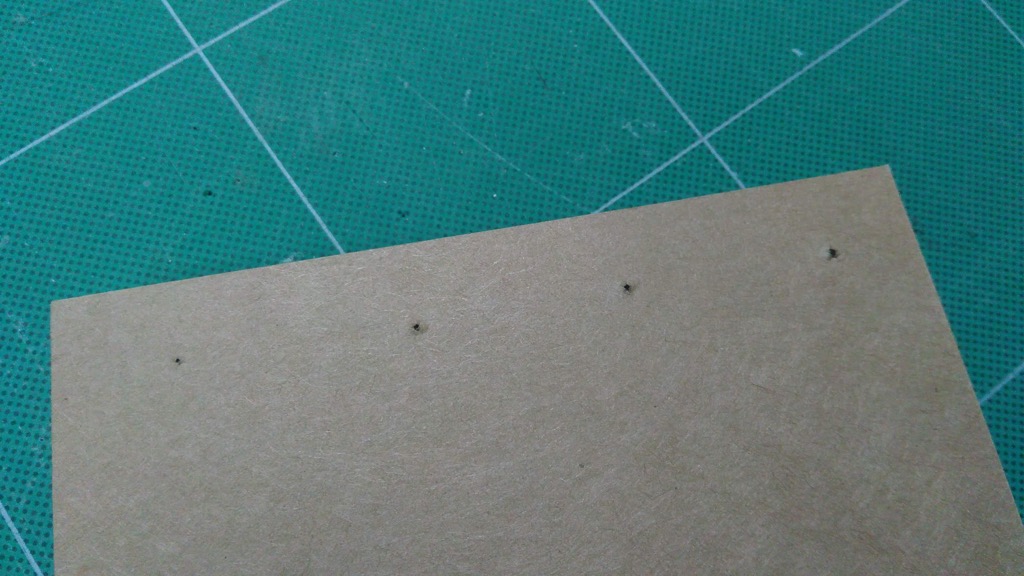
Sewing the Binding
I used a variety of thread and cord for the binding, experimenting to see what worked best. I was aided greatly by having my fibre-artist-girlfriend across the hall with her endless cache of options.
When I started sewing each notebook was a struggle as I struggled to thread the bookbinding needle, with its very small hole; this process was aided greatly by purchase of a set of needle threading tools from the dollar store (3 for $1.50 in Crapaud):
Image may be NSFW.
Clik here to view.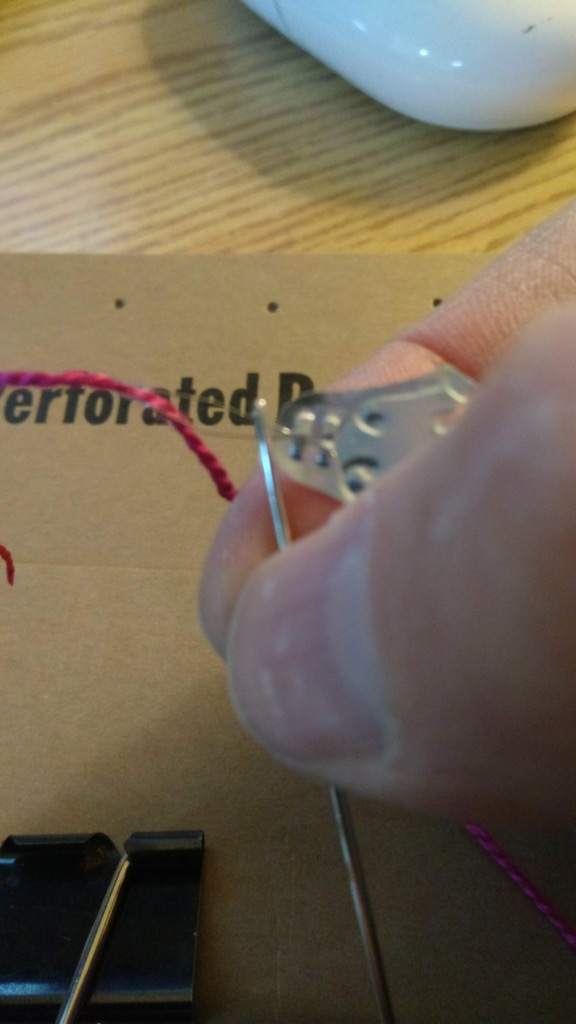
With the needed threaded, I ran off a length of about 24 inches of thread, and then tied a knot in the end:
Image may be NSFW.
Clik here to view.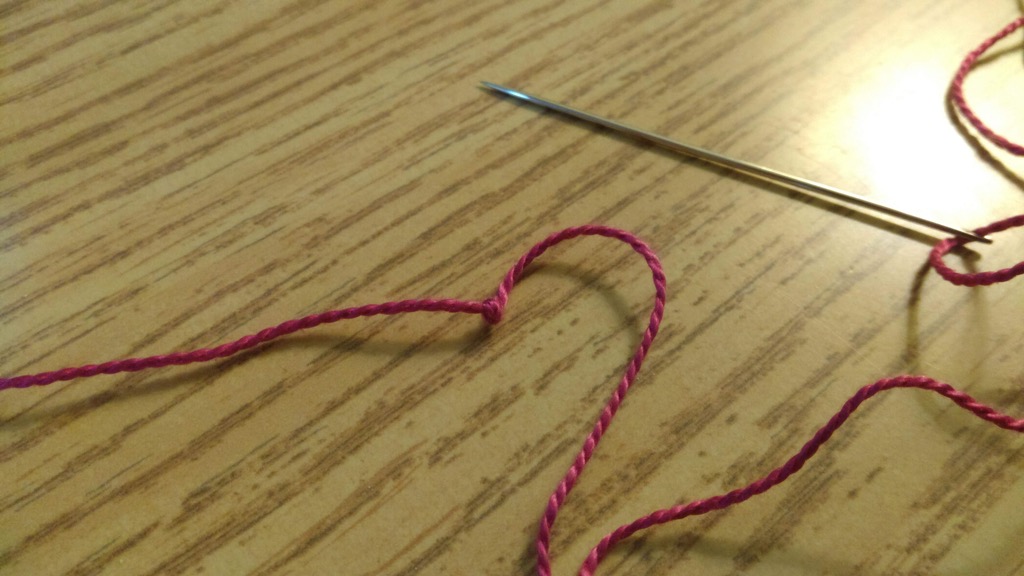
Stab binding starts with taking the needle through the inside from the middle out, using the first hole in from one side or the other, like this:
Image may be NSFW.
Clik here to view.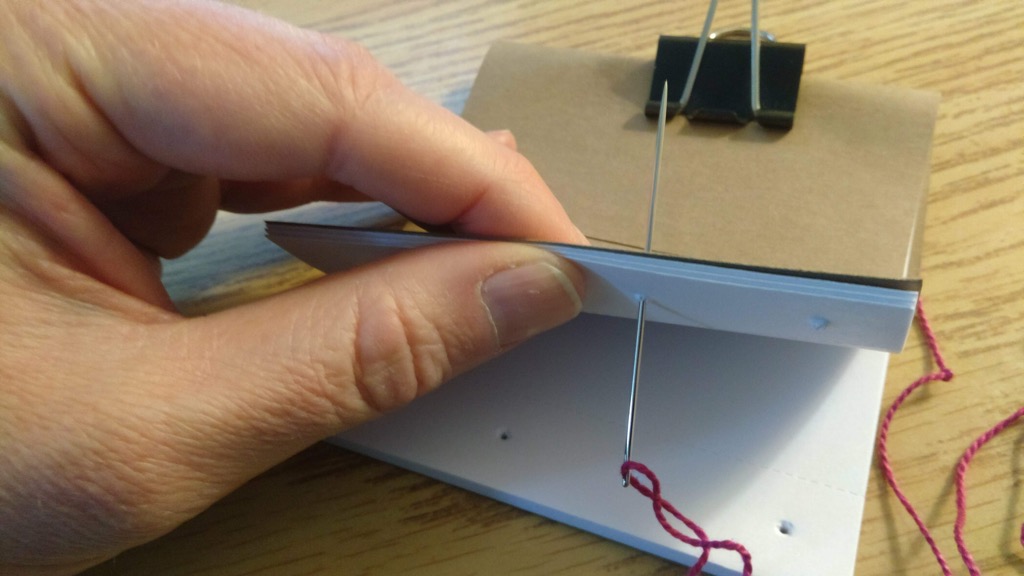
I pulled the thread taut to the knot, with the rat’s tail of thread left inside for use on the final step.
Once out through the top, I looped back around through the bottom and back through to the top, leaving this hole “bound”:
Image may be NSFW.
Clik here to view.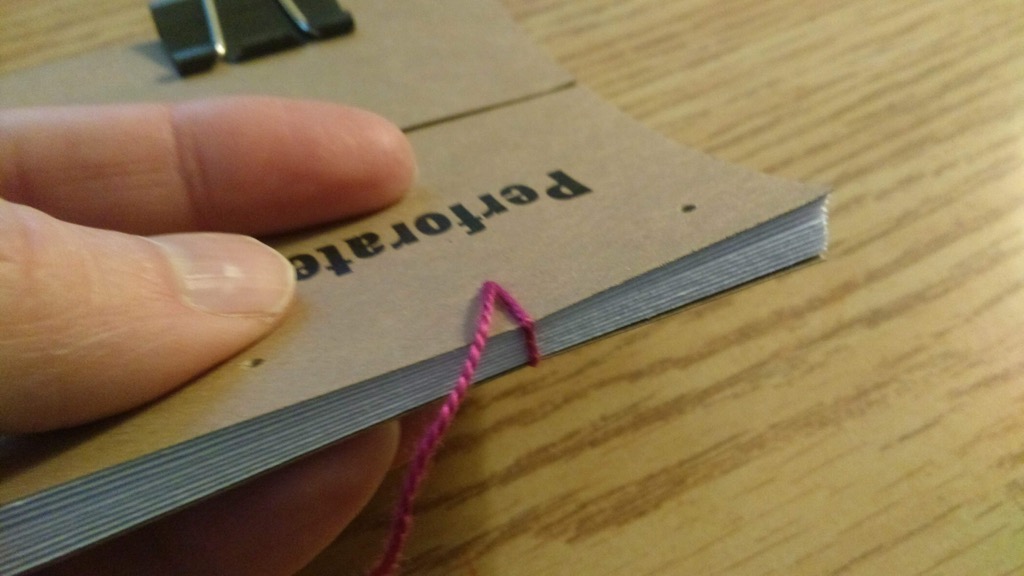
Once back out the top I moved along to the second hole, went down through the top, looping back around and back out the bottom:
Image may be NSFW.
Clik here to view.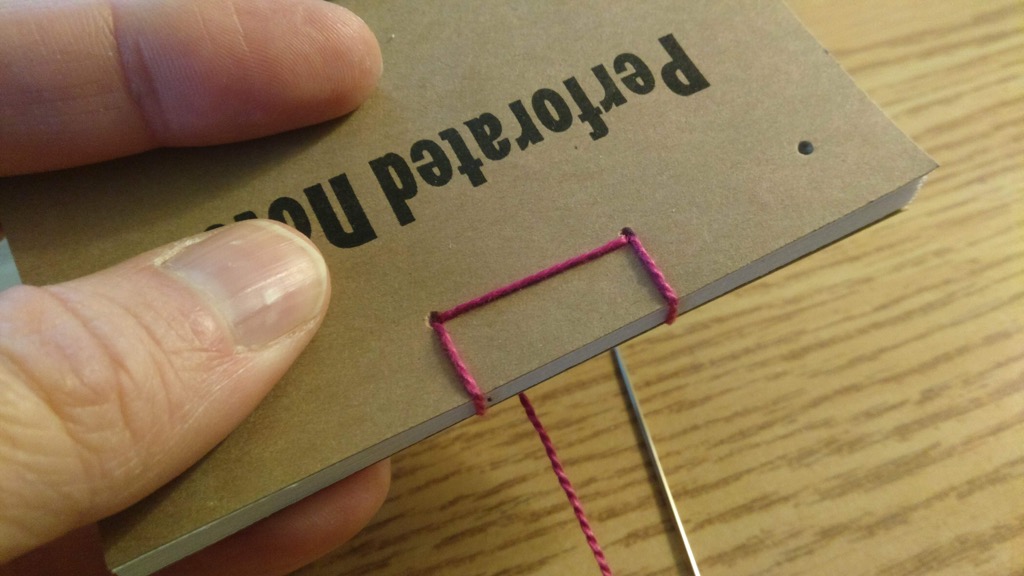
From there it was simply a process of continuing the same looping until the last hole, at which point I looped both around the end and then in the usual manner:
Image may be NSFW.
Clik here to view.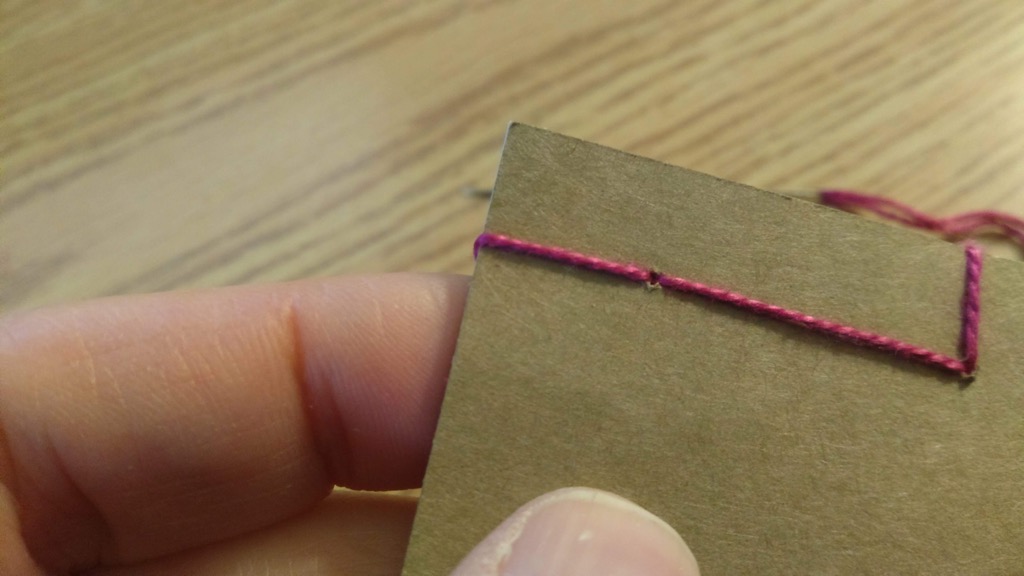
From there–and this is where it all began to seem kind of magical as everything fell into place–I repeated the same process back down to the opposite end:
Image may be NSFW.
Clik here to view.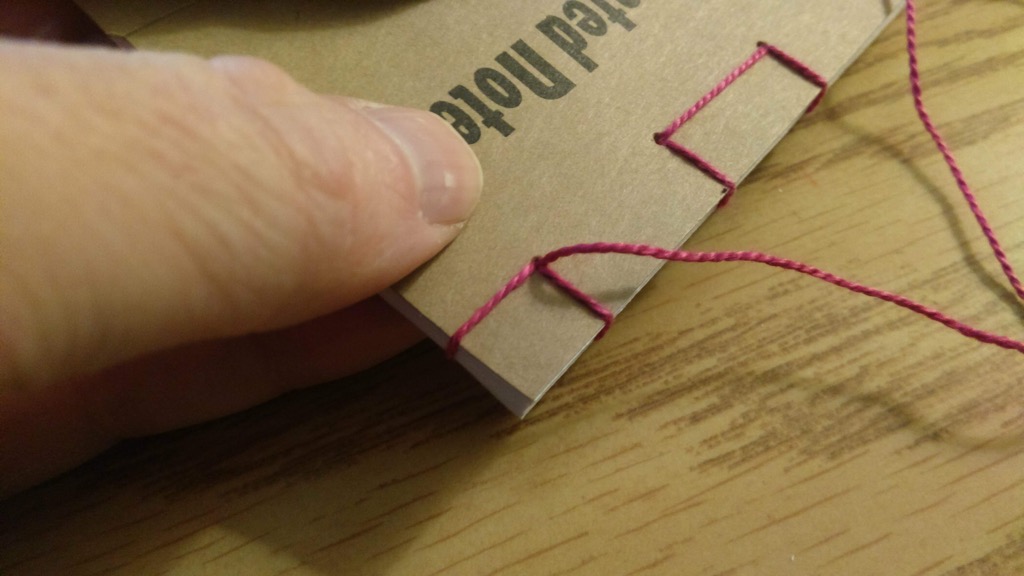
Once I got to the other end, stitched around the end and then regular loop through the first hole, I stitched back through the middle to find the rat’s tail that I started with, cut the thread, and tied the two tails together in a knot:
Image may be NSFW.
Clik here to view.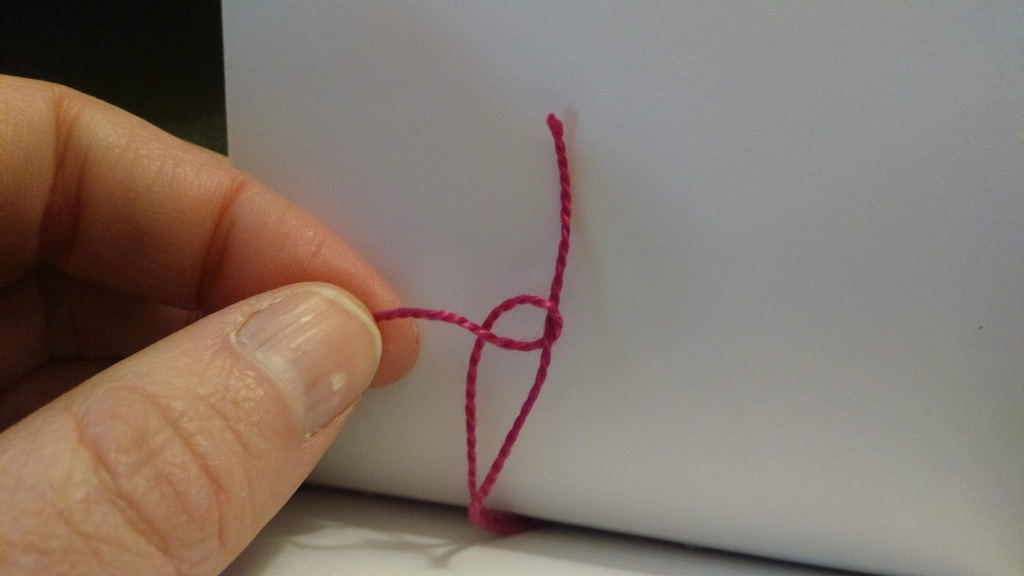
With the knot tied off, the binding was complete:
Image may be NSFW.
Clik here to view.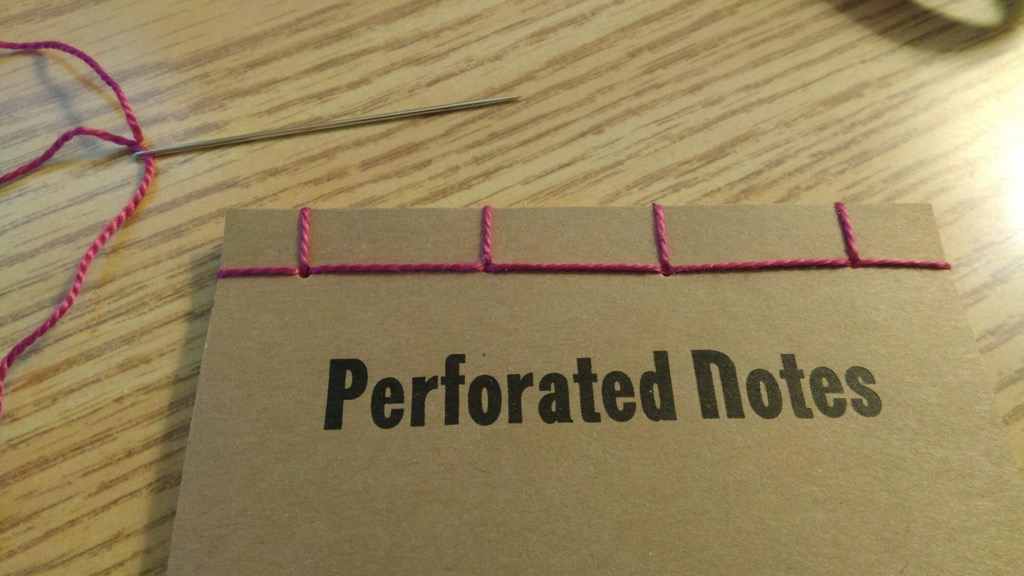
And from the back:
Image may be NSFW.
Clik here to view.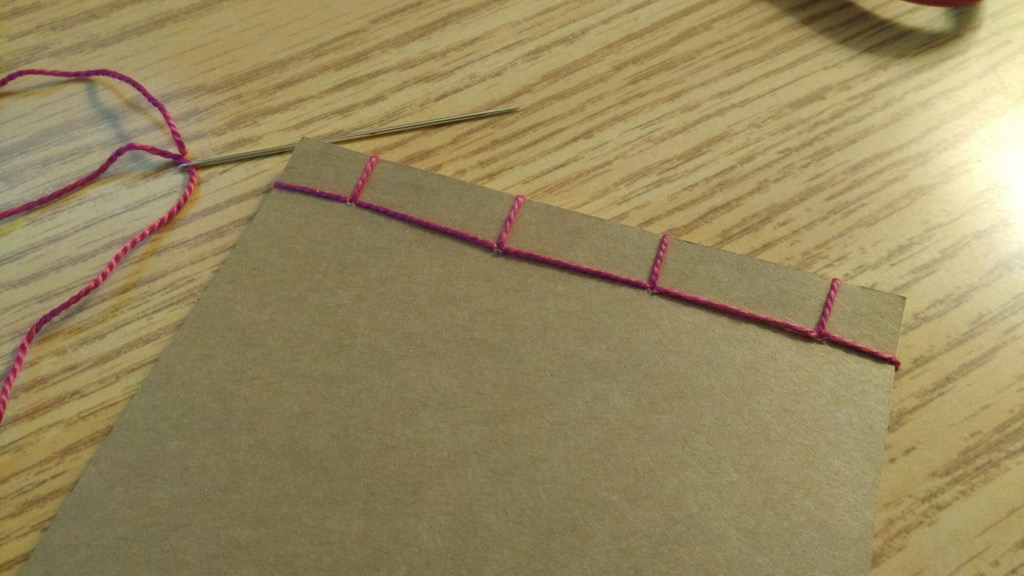
Trimming
Despite my best efforts, some of the notebooks ended up slightly ragged at the bottom end:
Image may be NSFW.
Clik here to view.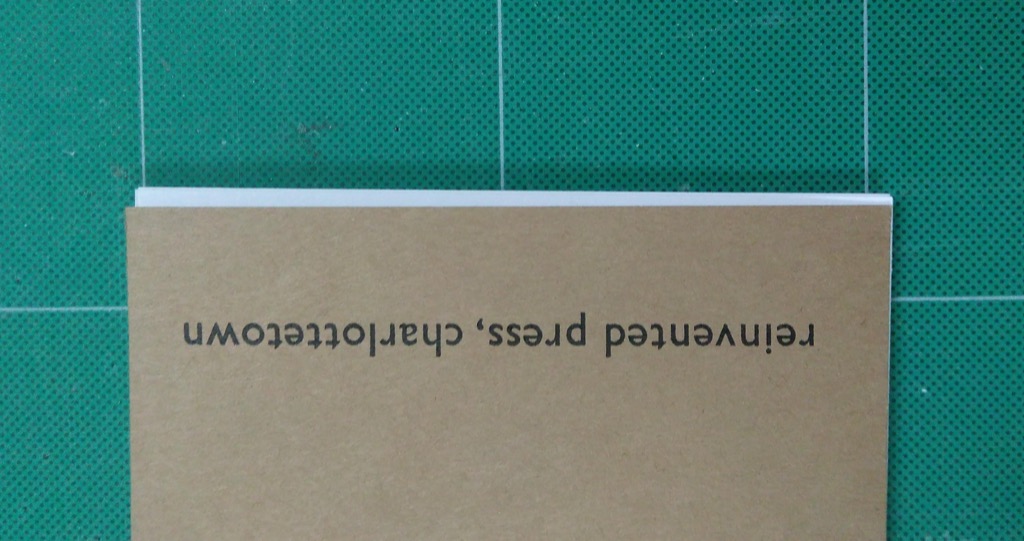
The solution to this was to hold a line rule along the bottom and then to gently trim the excess:
Image may be NSFW.
Clik here to view.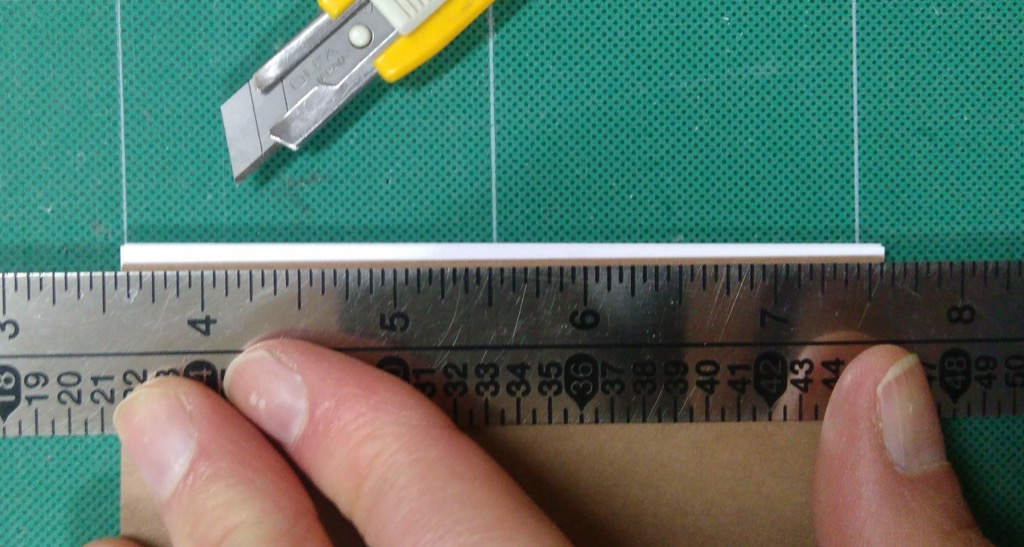
Image may be NSFW.
Clik here to view.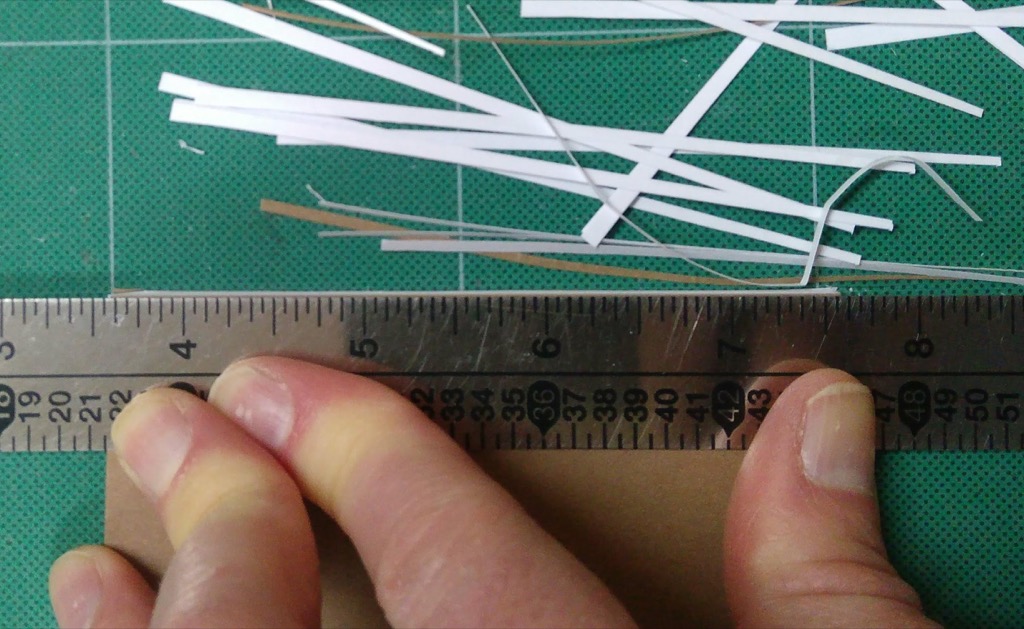
Image may be NSFW.
Clik here to view.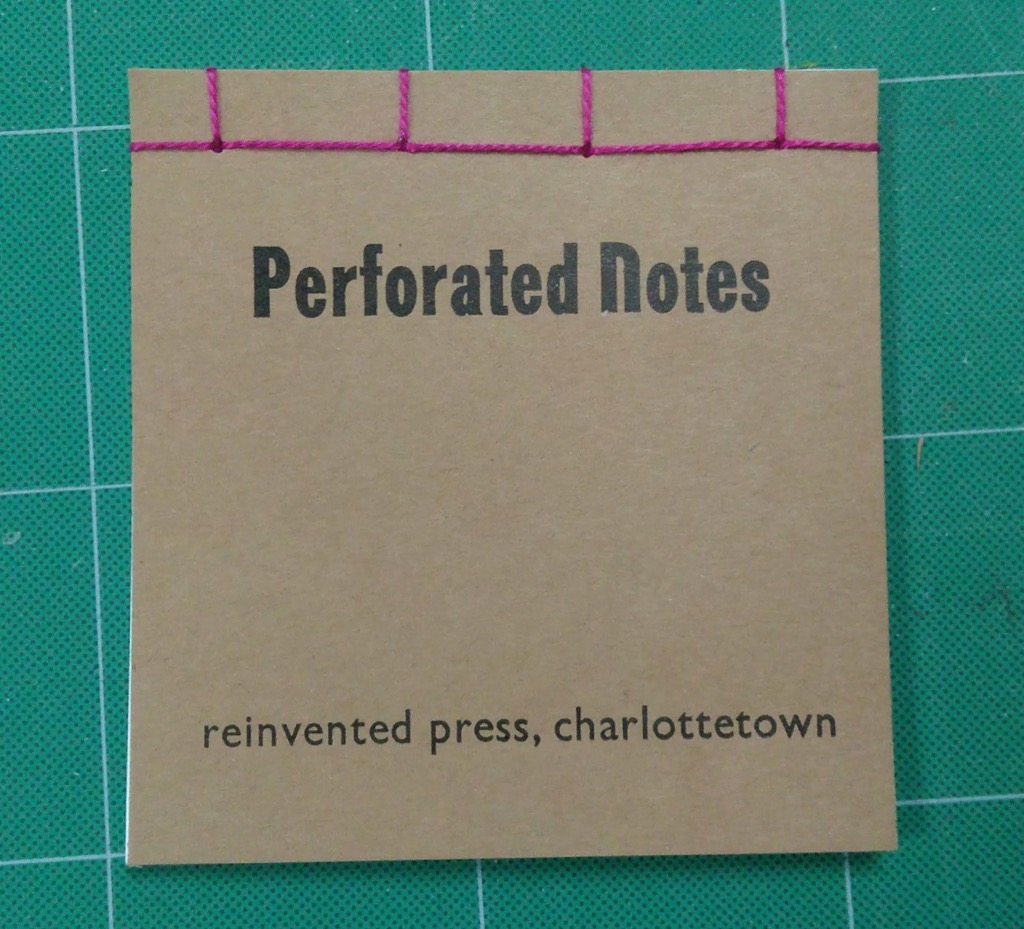
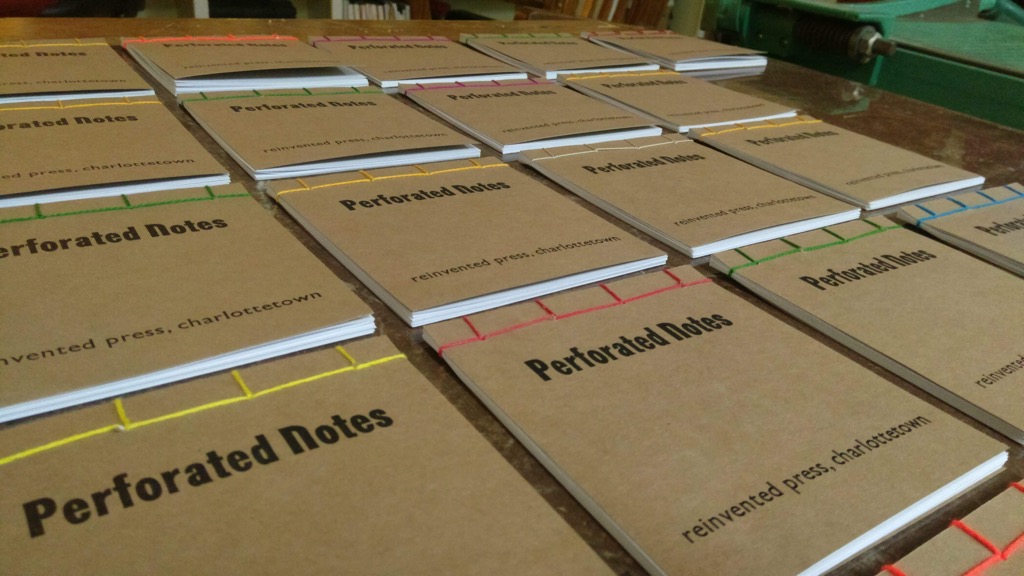
23 Notebooks Bound
I went through this same process 23 times, which was a very valuable process, as I got better at something every time through (i.e. not puncturing my fingers with the needle, or not tangling the thread, or figuring out how to keep the thread taught). Here’s what the final fleet of bound notebooks looks like:
Image may be NSFW.
Clik here to view.